3 Key Principles for Building Emergency Kits

Some of the links in this post may contain affiliate links for your convenience. As an Amazon Associate, I may earn a small commission from qualifying purchases without any increase in price to you.
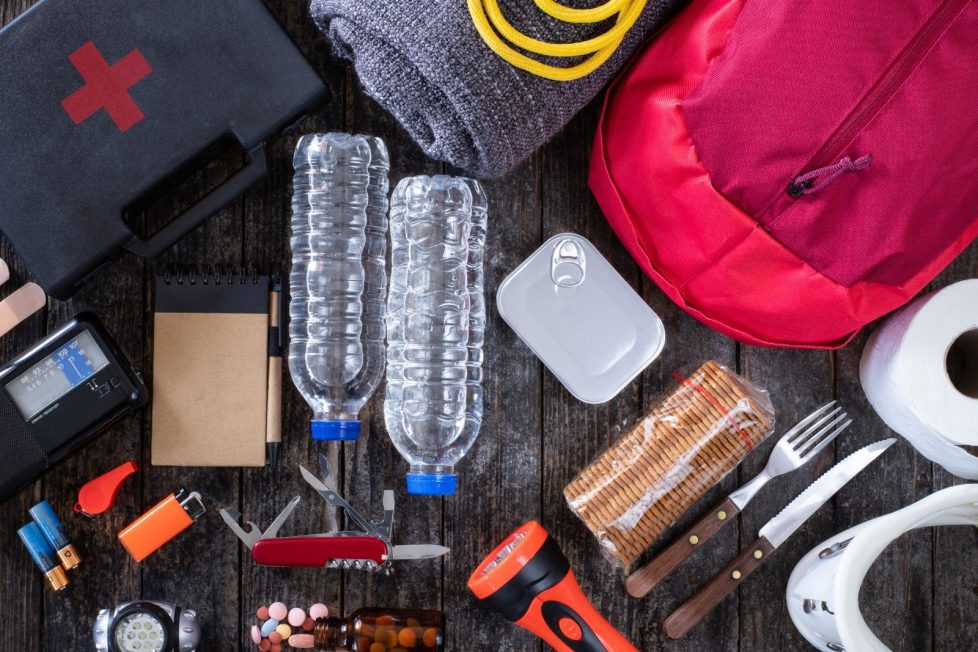
Worried about keeping your family safe during unexpected emergencies? This article focuses on the three foundational things to remember when building your emergency kits, empowering you to care for and protect your loved ones when it matters most. From strategic kit organization to essential item checklists, using these principles for building emergency kits ensures your family faces any challenge with confidence and peace of mind.
With over 20 years of disaster response experience, including deploying with a federal Disaster Medical Assistance Team (DMAT), I’ve seen firsthand the importance of flexible and customized emergency kits. The roughly 50 DMAT’s across the country were designed to be sent into disaster areas to provide physician-level medical care in “austere” environments, and be self-sufficient for 72 hours without resupply. Hurricanes were our bread-and-butter, with deployments to multiple storms in Florida in 2004, to New Orleans in 2005 for Hurricane Katrina, and Houston for Hurricane Ike in 2008.
While our system might not be universally applicable, it highlights the key: there’s no one-size-fits-all approach. So, whether you already have some kits in place or you’re diving into building your first, let’s solidify the foundation of building emergency kits with three crucial aspects.
Imagine your emergency preparedness not as a single, static kit, but as a flexible chain. This chain, anchored by your home’s main supplies, extends outwards, each link tailored to specific situations and locations. Some key links might include: Go-bags, vehicle kits, workplace emergency kits, an Everyday Carry kit, and disaster-specific kits.
Your home is where you can store the biggest amount of emergency supplies, Short of having to evacuate your home for a disaster (flood/debris flow, wildfire, tornado, earthquake), this is your preferred destination if you are away from home. The bulk of your food storage, water and sanitation supplies, hygiene and medical supplies, and so on are here.
The next link in the chain would be a “Go-bag.” (You may have also heard it called a “72-hour bag” or a “Get Home bag.”) You should try to have this with you anytime you’re going 5 miles or more away from home. Why 5 miles? Because it’s an arbitrary but reasonable distance for most people to be able to walk home to be able to access their emergency supplies there.
This type of bag could also be kept home in the event of an emergency evacuation from that location.
You need more than jumper cables and a spare tire. Each vehicle should have a small medical kit, 24-hours of food for the highest number of people who normally are in the car at one time, and a gallon of water for the same number. I discuss below the best way to store your vehicle kit. This post fully discusses assembling an emergency kit for vehicles.
Unexpected weather events or impassable roads could necessitate staying overnight at your workplace. While not ideal, having supplies stored at work can significantly improve your comfort and well-being during such an unplanned stay. Consider assembling a basic kit with essential supplies like food, water, warmth, and entertainment to ensure a more manageable experience. If you drive to work, this could potentially supplement your vehicle kit. Learn more about creating a workplace emergency kit here.
While a basic emergency kit covers most situations, specific disasters often demand unique gear. For example, in regions where earthquakes are a more common threat, you might keep a bag containing gear needed immediately following an earthquake.
The last link, which anchors the chain to you, is your “Everyday Carry” Kit, or “EDC”. This might be as simple as a folding knife or multi-tool in a sheath on your belt, or as serious as a legal handgun carried concealed. Items carried in a purse or laptop bag would also be included if they are always with you. These items get the most wear and tear since they are with you every day, so they should be checked and maintained on a more regular basis.
Your emergency kit is your lifeline in a crisis, but just like any equipment, it needs upkeep.
Don’t wait for an emergency to discover your expired medicines! Just like smoke detectors, your emergency kits need regular attention. Twice a year, give them a thorough inspection. Replace expiring items like batteries, medications, and adhesive bandages, and you’ll be ready for whatever comes your way.
A good list system for your kits makes life much easier, especially if you add expiration dates. The list can use italic or bold fonts to flag perishable items, allowing you to shop for replacements ahead of your semi-annual emergency kit update.
You should “exercise” your emergency kits to validate that you have the right items in them. This helps identify gaps and familiarizes you with using the supplies.
For instance, simulate an emergency by taking your kit for a weekend camping trip or even a staycation where you and your family rely on your kits for everything: food, drink, lighting, first aid, hygiene, and keeping your phone charged for use. It’s OK to help each other out with items needed but not in their kit.
The point is to learn how you would use your kits for life support when needed. This is a good time to adjust the contents of your kit. Read this post for lessons learned testing a 72-hour kit.
In most areas, summer and winter carry the most extremes of weather, hot or cold. Both have potentially damaging effects on your kit contents.
I used to routinely work in 120-degree F weather, which sometimes raised the temperature inside my truck to 150-degrees. The only way to preserve my vehicle kit was to package it inside a camping ice chest. Even without ice, the insulation greatly slowed the penetration of heat into the cooler, preserving the contents. On especially crazy hot days, I could throw a few ice cubes in a zip-lock bag or a small blue ice pack inside the cooler to keep things reasonable.
The same idea goes for freezing conditions, which can damage any liquid-containing item in your kit. The cooler moderates the temperature change to keep your kit safe.
In warm weather, adding more water to your kits is essential; electrolyte drinks like Gatorade are even better. A combo of water bottles and powdered electrolyte drink is good way to have the best of both.
In winter, your body works harder to maintain your core body temperature. This requires consuming more calories, ideally via energy bars or other long shelf-life food not requiring preparation like nuts or jerky. Read this post for tips on making an affordable winter survival food kit for your car.
There are a few products you shouldn’t cut corners on. Here’s why flashlights, band-aids, ways to start a fire, and food are worth the investment.
Integrate your kits with your emergency plan. Don’t think of kits as isolated entities. Clearly define how each fits into your overall emergency response plan. Consider evacuation plans, shelter options, and family emergency communication plans when building your kits. Ensure everyone in your household understands the purpose and location of each kit and their role in using them.
If you have more money than time to assemble the components, it may make sense to buy a pre-made kit that you can customize later. Here’s an example of such a kit: Wise Company 5-day Emergency Kit. On the other hand, if you can start with a nice sturdy bag and a list of needed items, a trip to a few local “dollar” stores can help you make a dent in your bag contents.
While a single, well-stocked kit is a good starting point, a chain of tailored kits offers several advantages. It allows you to scale your preparedness to the situation, have redundancy in case one kit is inaccessible, and customize each kit to specific needs and environments.
Remember, having well-stocked and maintained emergency kits isn’t just about surviving the first 72 hours – it’s about building confidence and resilience for whatever challenges life throws your way. By following these simple guidelines, you can transform your home, car, and everyday essentials into a network of preparedness, granting you peace of mind and the ability to face any situation head-on. Remember that preparedness is a practice, like medicine or the law. The goal is to get better over time, to learn from mistakes and successes, and adjust as needed.