21 Really Clever Container Gardening Tips and Tricks


Whether or not you prefer to maintain a traditional garden, container gardening is a great way to increase your available space, maximize versatility, and adapt to changing conditions.
You can grow veggies, fruit, herbs, or ornamentals based on your preference, and keep them indoors or out. It’s the perfect way to experiment with new plants or keep right on gardening even through a brutal winter.
There are lots of advantages with container gardening, but you’ll have to adapt your approach compared to traditional in-ground gardening.
To help you do that, I’m bringing you 21 clever and proven tips that will save you time, effort, and money. Grab your trowel and your pruners, and we will get right into it.
Arguably the most important tip I will give you today is also the most fundamental, but you’d be surprised how many people overlook it.
You should buy or plant container plants based on your lifestyle and what you want. For instance, you shouldn’t waste time with prissy, delicate plants like orchids, jasmine, or gardenias if you are a beginner and have a hard time keeping anything alive.
If you’re a forgetful waterer, maybe go with succulents like aloe vera or zebra plants, or maybe cacti; plants that grow well in arid conditions!
If you’re all about veggies and herbs, you don’t need to waste any effort on purely ornamental plants…
Anything save the largest, like watermelon or pumpkins, will grow just fine in containers, and container-growing tomatoes, berries, herbs and more will give you much greater control over their care.
When you’re at the garden center or the nursery, you’ll be dazzled by hundreds or thousands of different choices, and it’s easy to go off-target. Make a list of the plants you want specifically, or what you want from your container garden, then buy accordingly.
Something else you should consider right up front is how big your chosen plants are going to be, or how big you will allow them to get.
If you want a small fruit tree, it will have correspondingly larger roots, which means it needs a larger diameter and taller container and correspondingly a lot more soil.
It won’t start out that way, of course, unless you are transplanting, but once it matures to its larger size, you’ll be dealing with a very heavy, very bulky item that will be difficult to move.
Will you try to grow it in place? Will you transplant it into the ground later? These are questions that are best answered and addressed before the time comes.
Likewise, if you’re just growing some small herbs for kitchen use, a rack of small pots or a rectangular container that is easily moved is just the ticket.
When you are buying new containers, even cheap ones, the price can add up quickly. That’s why you’ll usually see seasoned container gardeners, like me, simply refuse to throw away any pots at all, even the cheap plastic ones that new plants come in.
In time, you’ll amass your own collection, but whether you are repurposing old ones or getting used ones for a bargain, it’s crucial that you sanitize them in between plantings.
This is necessary to cut down on the transmission of diseases and pests which can cut the lives of your new plants short.
To do this, simply rinse them out thoroughly, give them a scrub with a little bit of soapy water, and if you know they were previously holding an infected plant, disinfect them with a common antibacterial cleaner before a final, thorough wash.
Container plants need water, naturally, like all others, but they will tend to do best if you water them early in the morning before the heat of the day rises. Yes, even if they are kept inside and pampered!
For starters, your container plants will be drying out steadily overnight while you are asleep, and as the light comes up and temperatures increase, the biological processes of the plants will perform their best if they’re already hydrated…
I like to water my plants right at dawn if I can, and no later than mid-morning.
In most places, the temperature will increase steadily and rapidly around 10:30 a.m., and that will also have the effect of evaporating away that water before the plant’s roots can make the best use of it. Water early, and your plants will thank you!
Here’s a mistake I see conventional gardeners make all the time when they start going heavy into container gardening. Get into the habit of watering your plants precisely. And I mean this in two ways…
First, learn how much water each plant, individually, requires in order to thrive. You want to make sure the entire root ball gets wet to maximize water uptake, but you don’t want to overwater it so the roots stay soggy all day long in most cases. That can cause disease.
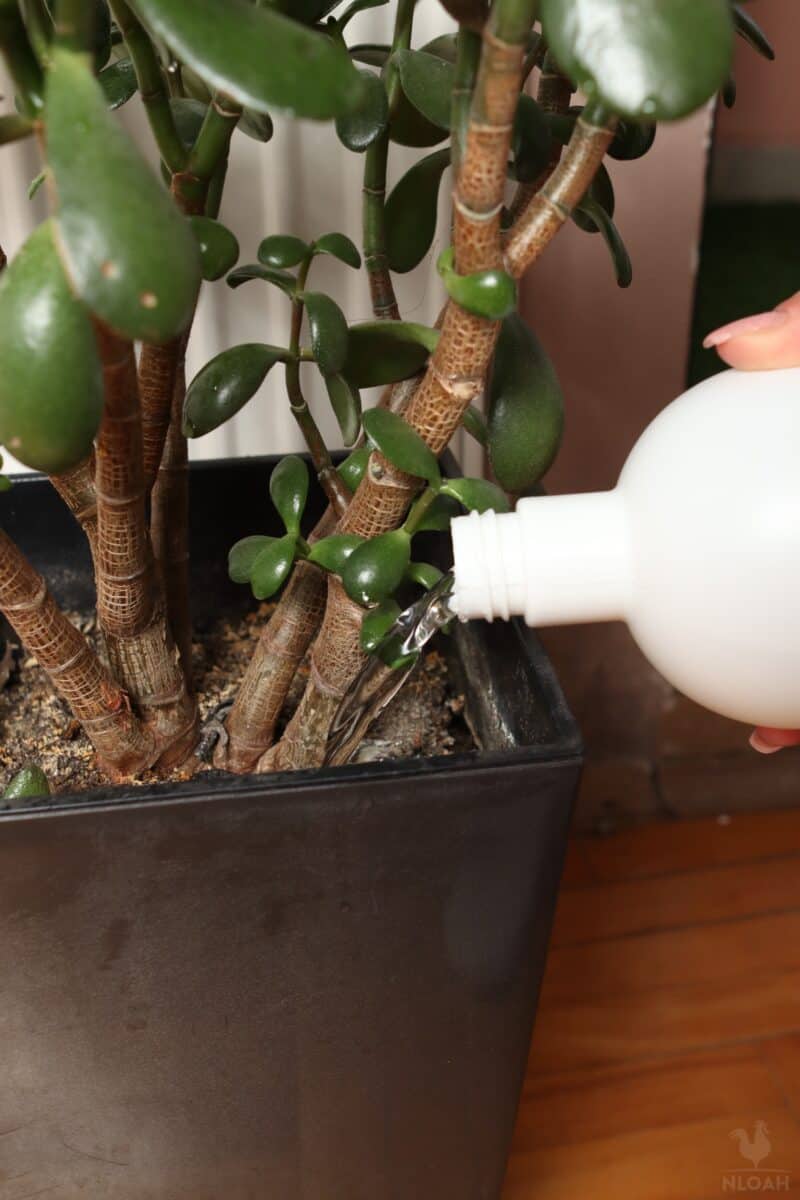
Second, when I say water precisely, I mean to direct the flow of water precisely. It’s a fun image using a conventional watering can to shower your plants, but soaking all of the foliage along with the soil usually just promotes burning from the sun and fungal infection.
You are much better off using a watering can with a narrow spout to get the water directly on the soil all around the root ball, bypassing the leaves and blooms.
In time, you’ll be able to instinctively give each plant enough water and do so quickly, so this won’t slow you down.
A tip that can help you keep large plants properly watered is to water from the bottom, at least partially.
By setting the pot in a tray or saucer, and then filling that tray or saucer with water, capillary action will draw water up into the pot as long as there are holes in the bottom.
This, with a little bit of strategic watering from above, will ensure that the entirety of the root network will stay moist without the upper or lower strata getting too moist and inducing root rot or fungus to take hold.
It takes a little bit of practice and good instincts to bottom water using the correct amount, but you can easily figure out how much water is reaching the lower parts of the roots by using a thin probe to reach down from the soil layer.
Bottom watering is convenient and works especially well for larger plants as mentioned, but it has one major drawback: if you let water sit in the tray or saucer, it’s bound to attract mosquitoes.
Mosquitoes deposit their larvae in water sources, where they spend a part of their life before they mature into blood-sucking adults.
Soon after emerging as adults, they’ll go on to mate and lay even more eggs, and that will turn your container garden and property generally into mosquito Mecca.
To avoid this, use a plant-safe organic mosquito killer in the saucers. This typically takes the form of a biscuit-like tablet or granules that you sprinkle in which will dissolve in contact with water.
That way, even if there is a little standing water left over, mosquitoes won’t be able to make use of it for breeding.
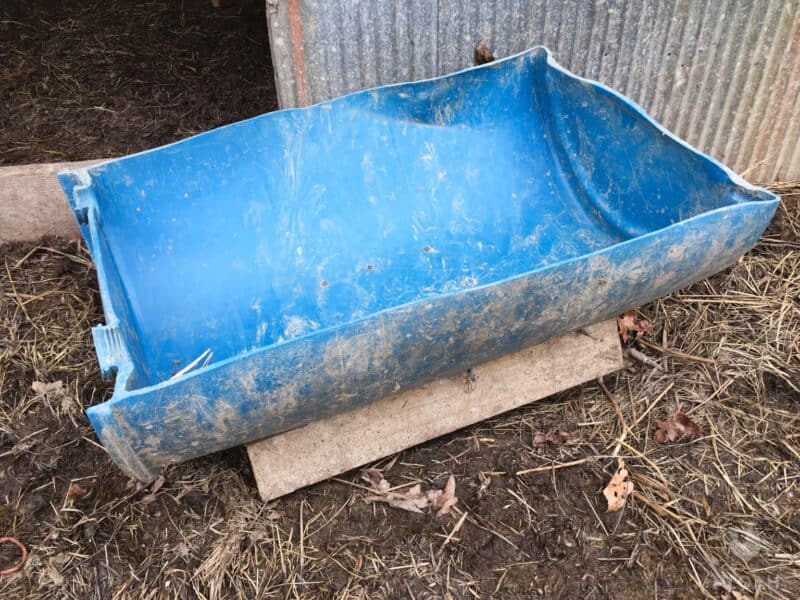
All this talk about watering, but I’d be remiss not to talk about the importance of drainage. This is another crucially important element for the success of your container plants, and sadly, one that many beginners get wrong.
Every container you own, no matter its size, no matter what it’s made from, must have an adequate number of drainage holes so that the soil, and the plant’s roots, won’t stay sopping wet.
I’ve already mentioned several times that root rot is a major concern for most plants, and only a few actually like to have roots that are constantly wet.
The trick is that many containers either have an inadequate number of holes, drainage holes that are too small, or even no holes whatsoever!
Don’t trust that the manufacturer knows what is best in this case: Drill out multiple holes no smaller than ½ inch in diameter, and for large pots, make the holes one inch in diameter.
Slugs and snails both are devastating garden pests, and can chew the leaves and blooms right off of all kinds of plants.
Slugs especially are sneaky plant predators because they can compress their bodies and move through the thinnest of openings to gain access to plants or hide during the day…
Check under pot rims, on the bottom, and in nearby crevices for slugs if you notice chewed leaves, and use a perimeter of salt or diatomaceous earth to protect plants against their trespasses.
Unless your plants are set out in the middle of the yard getting full sun at all times, it’s easy to overestimate how much light they are actually getting. A nearby window or a spot on the porch does not constitute full, or even partial, sun!
To find out for sure, you need to track how much light potted plants are actually getting throughout the day.
As soon as they start getting light, make a note, then check on them periodically to see how the light has shifted. Don’t be surprised when you find out they are getting a lot more shade than you thought!
Assuming they’re getting enough light, that’s fine, but if they are not, move them or remove obstacles to reduce shading.

Here’s a mistake I made for way too long when I was just getting started. When you buy potting soil, it’s easy to assume it has everything that your plants need to grow, and that’s not necessarily true!
Many brands of potting soil require amendment with various fertilizers to ensure plants have adequate nutrition. You’ll have to take care of this yourself, and I greatly prefer to test all of the soil after mixing it together, and then amend it in a big batch before storing it again.
That way, I know exactly what my plants will be getting as I pot them, and I won’t have to struggle with adding fertilizer to a smaller pot.
Speaking of fertilizer, for potted plants, you’d be wise to use nothing but organic fertilizers and other soil amendments if at all possible.
Most of them release nitrogen, phosphorus, potassium, and other elements into the soil more slowly compared to inorganic fertilizer types, but the majority also won’t roast the soil and kill off beneficial microorganisms that are so important for the overall health of potted plants.
You can use inorganic fertilizers… But if you do, chances are pretty good you’ll have to stick with them going forward because those various soil processes will have halted after you apply them once or twice.
A quick and easy tip that’s one of those forehead smackers: when you’re purchasing a plant from the garden center, nursery, or your local big-box home improvement store, take a picture of the front and back of the plant’s tag.
This tag will contain all of its care requirements concerning water, light, food, and growth habits. Save these pictures into a folder on your device, and you’ll never have to guess or go running to the internet for info!
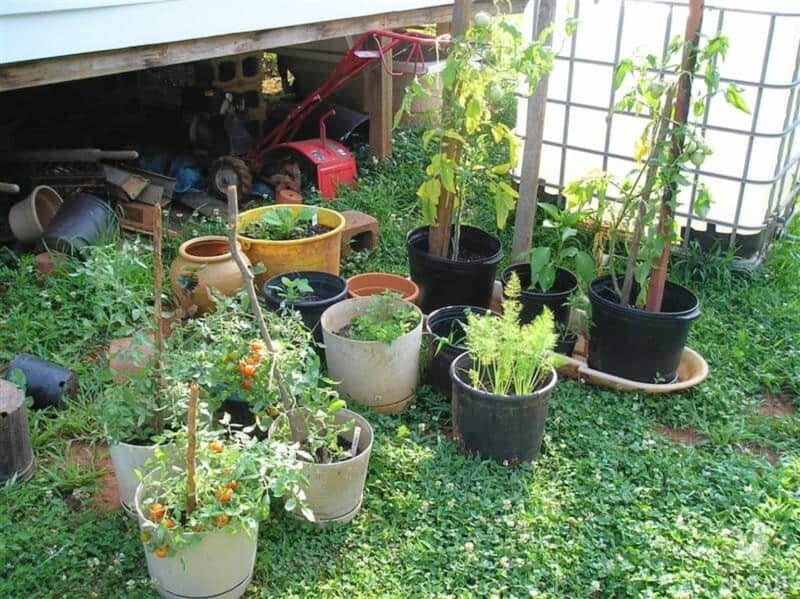
Here’s another tip that’s easy to forget about. If you have plants that like to grow tall, or you’re trying to encourage a certain growth habit, don’t be afraid to stick a trellis, tomato cage, pole, ladder, or other type of support in the pot with it.
As long as you are careful not to disturb the roots of the plant, this won’t hurt it, and it will definitely speed things up when it comes to getting that proper shape or behavior that you want.
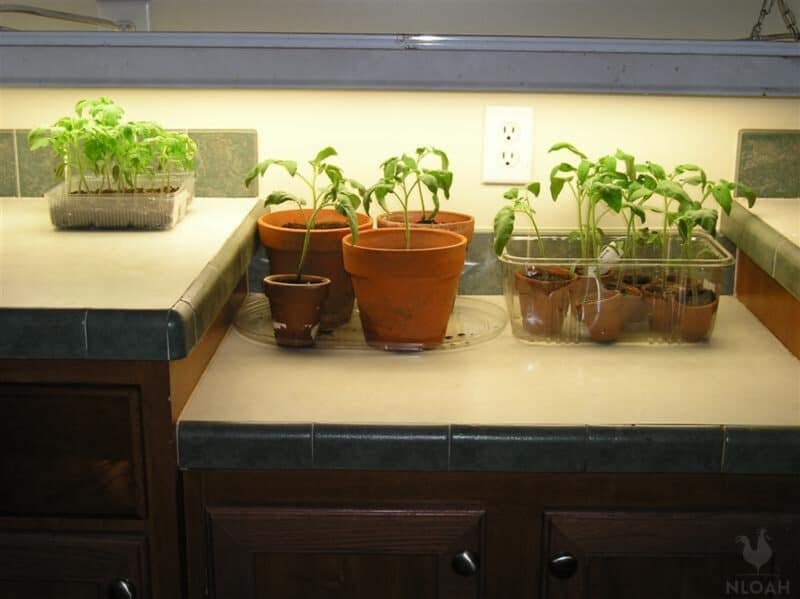
Far and away the single biggest advantage with container gardening is the fact that you can move your plants around. For convenience, for organization, or to protect them from changing conditions…
And as I mentioned, it lets you get plants started out of season inside the comfortable and controllable environment of a greenhouse or your own home, before moving them outside.
It’s a huge perk, but you might kill your plants if you take them out of one environment and stick them in a new one without giving them time to acclimate.
This process is referred to as hardening off in gardening parlance, and it’s sometimes done with young seedlings before they’re transplanted into the garden soil permanently.
To do it, when you are moving your plant to a new environment, only leave it out there for a couple of hours before bringing it back inside. The next day, increase the time you leave it out there by 30 minutes, maybe a little longer.
Repeat this process for at least a week, preferably two, and then it will be ready for living full-time in its new home.
This is bound to be controversial, and I can’t wait to see what you all have to say in the comments, but I’m sticking with it: do not fill your pots with anything except soil. No gravel, no sand, no crushed cork, no bark, no nothing. Just soil.
Over the years, I’ve seen people provide supposed benefits like improved drainage, better root health, and so forth, but the reality is that it doesn’t do anything except take up room and provide a suboptimal environment for plants to grow.
Concerning drainage, the only thing that improves drainage is the consistency of the soil and the amount and size of the holes in the pot.
When things are going well with your plants, it’s easy just to let them go and thrive. Grow a little wildly, you might say. Don’t give in to this temptation.
Pruning is important to optimize the health of all garden plants, in containers or not. When leaves, stems, or branches get damaged or aren’t growing the way you want them to, prune them back so the plant will direct resources elsewhere.
This can help you direct its growth to grow taller, denser, or in any other way that you desire.
Pruning is especially important if plants get sick or if part of them is suffering from a bad pest infestation. Cutting off the bad parts can save the healthy parts from infection.

While we are on the subject of pruning, make it a point to keep all of your pruning tools sharp and scrupulously clean. This will prevent incidental infection during routine trimming, and if you are caring for a sick or infested plant, it’ll help to prevent transmission from one to another.
To clean your pruning tools, give them a good wipe down with antibacterial household cleaner, then rinse with water before oiling with mineral oil. Alternatively, you can use rubbing alcohol and a clean cloth or paper towel.
A really smart move that will help take your container gardening to the next level is doing your homework on the symptoms of common plant ailments and pest infestations.
Most start off subtle and innocuous. Some small or irregular holes, yellowing edges, crispy tips, or faint, powdery residue that could be mistaken for dust. But from here, things will get worse and fast.
Spotting these issues as early as possible and treating them accordingly can save your plants and keep you on track for a highly productive harvest.
Much of the time, once an infection or infestation has progressed to a certain point, you won’t be able to bring a plant back from the brink.
Sometimes you’ll need to protect a plant from the onslaught of intense sunlight during a period of high temperatures, or perhaps you could be dealing with a local or regional outbreak of pests which might devastate them.
When this happens, reach for covers. Made of a lightweight, gauzy material, they can provide plants with some relief from intense UV and, if small enough, keep even the tiniest bugs from reaching them.
You can use traditional row or bed-style covers and move your containers under them, or use individual covers that are on a lightweight metal or plastic frame that sit on your containers or around them.
If you care about your plants, it’s tough to see them suffer. Maybe they just aren’t doing well despite your best efforts and diligent care. Maybe they fell victim to blight, rot, or fungus. Maybe they got damaged by rough handling or an accident.
Whatever the case, sometimes it’s best to just call it quits and cull the plant. You’ll be wasting time, effort, and care that might better be spent on your other plants that are doing well. Plus, you’ll free up a container for reuse.
No matter what, some plants just aren’t going to make it, and that’s part of gardening!

Tom has lived and worked on farms and homesteads from the Carolinas to Kentucky and beyond. He is passionate about helping people prepare for tough times by embracing lifestyles of self-sufficiency.