How to Amend Soil with Permaculture • Homestead Lady
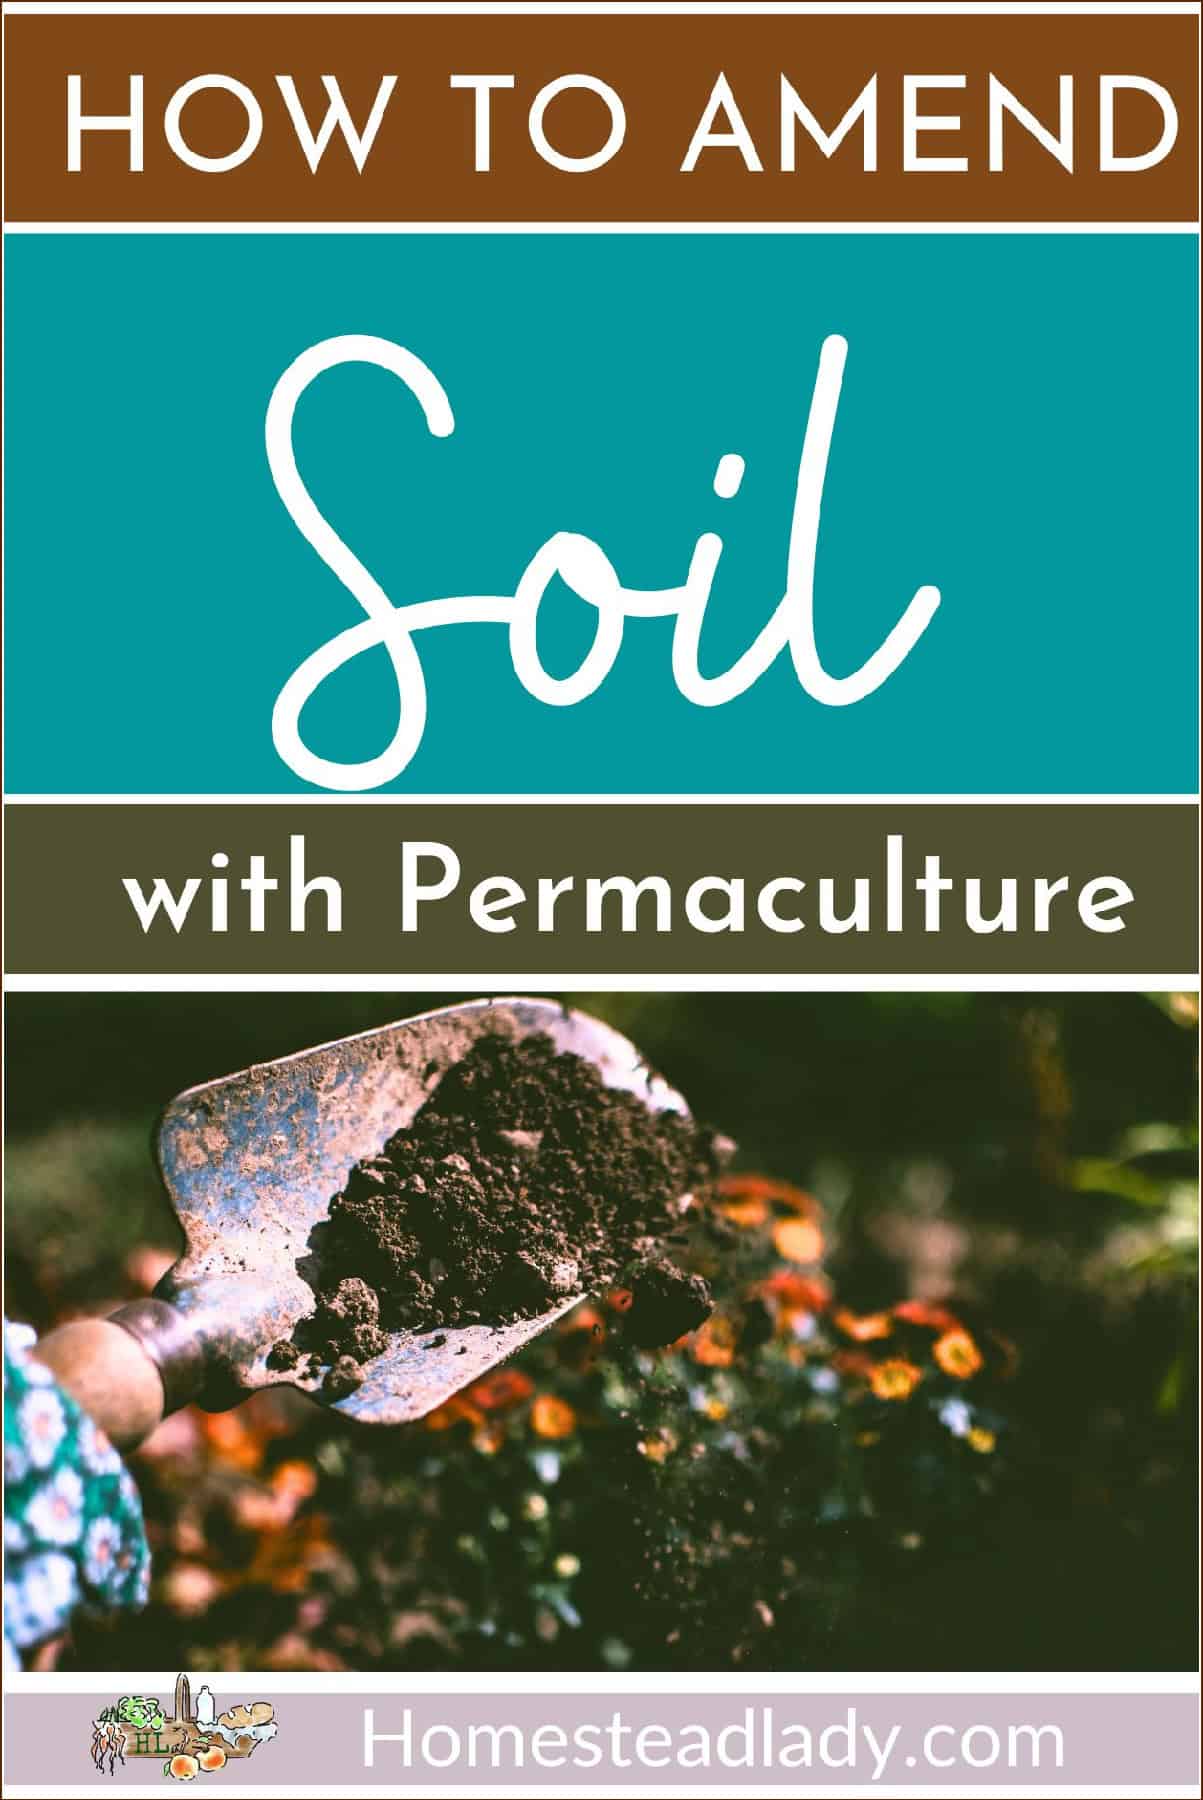

Here’s how to amend soil with simple, economical, and easy to implement permaculture principles like applying compost and cover crops. We also discuss water retention in the homestead garden, as well as what time of year is best to amend soil to increase crop yields. Growing healthy food starts with growing healthy soil – you’ve got this!
The old saying goes that gardeners don’t actually grow veggies, they grow soil. The soil grows the veggies. This is so true!
Healthy soil has its own ecology, or living system full of relationships between elements in the system. Inside that living system is a big mix of:
And a whole host of microscopic critters that all help keep the soil’s immune system strong and its nutrient level high.
In the practice of permaculture we grow food by building up the soil ecology with natural methods like using compost instead of putting down commercial chemical soil amendments.
We spend a lot of time observing and interacting with our garden soil. The more we interact with the soil in our garden, the more we can note improvements over time.
Helpful Permaculture Article for Later:
Plan a Permaculture Homestead Layout
Stacking Functions on the Homestead
Finding Homestead Property Information, aka Site Data
To get started with this process:
Get our your notebook and take notes.
Do a simple soil test to determine the clay, sand, and silt content of your garden bed soil. You need water and a jar with a lid for this test. (It makes a great homeschool project, FYI!)
The Homestead Education can show you how to do a Cheap and Easy Mason Jar Soil Test.
Write the results in your garden notebook. Sometimes, you’ll have an overabundance of one element or variations of the elements. For example, some sand and even small rocks are great in the soil because they provide drainage.
However, some soil is so full of rocks, you have to figure out how to fix that overabundance before you can grow food in it!
(If that’s an issue on your homestead, please visit our article, How to Fix Sandy Soil with Permaculture.)
Each element – clay, sand, silt – actually performs a function in the soil ecology.
To keep better track of your garden notes, I suggest you get a copy of Schneider Peeps garden notebook. This is the one I use every year to keep all my observations and plans in one place.
Where this soil doesn’t exist naturally, we can build it over time. In short, if your soil is not that great, don’t despair – you can grow great dirt!
To begin with, to an empty garden bed, add the following materials in roughly this order:
All these materials will provide vital carbon and nitrogen for the soil, as well as “hotels” for all those soil critters to live in. All will also provide other nutrient and water retention in your soil.
However, few people are willing to wait that long. So, to speed up the process, I suggest they start a batch of cover crops in their garden soil.
A super quick explanation of biochar is as follows: charcoal that’s been fermented with water, compost, and maybe a sugar like molasses or sourdough starter to feed beneficial bacteria and yeasts.
Biochar has been used for centuries as a soil amendment. Some of its beneficial properties include:
This is a super simplified version of an ancient process, FYI.
Apply by sprinkling biochar on your garden soil kind of like salt, and then cover with mulch or more soil. The scientific amount is 10% – 15% biochar to soil.
A little goes a long way!
To add nitrogen, other nutritive elements, and living roots to your soil, keep the soil planted in cover crops for an entire year or more. If you can’t spare a whole year for cover crops, schedule them for at least one part of the year.
There are cover crops you can grow from later winter to early winter. Each crop comes up, lives until its about to set seed, and then you cut it down to lay onto the soil or ever so lightly mix it into the top layer of the soil.
If you can, add another layer of mulch, compost, straw, wood chips, etc. Over time, a healthy soil will build up that will grow food for your family!
To get you started on using cover crops, try these helpful articles by actual homestead gardeners:
Best Cover Crops for Raised Beds, by Hidden Springs Homestead.
How to Use Cover Crops, by The Seasonal Homestead.
Permaculture is a “by hand” kind of system, so learning how to amend soil by hand will be right up your alley! In permaculture, small and slow solutions are the first choice in our arsenal when dealing with an issue.
Instead of tilling and deeply digging soil to amend it, in permaculture we layer materials on top of the soil to rehabilitate it. In fact, we discourage deep digging because it breaks up the soil ecology we’re trying to build.
We keep our digging limited to times we actually need to move soil or dig holes for planting perennials. For harvesting, I like to use a broad fork or simple shovel.
There are times you may still decide to use equipment to move soil in a no-till garden, but those times are rare and targeted.
Never let your soil stand bare in the beds. Never let soil be bare ANYWHERE in your yard.
Bare soil = weak, dead soil.
Always keep your topsoil, aka the soil at the top of your garden bed, covered in mulch, straw, wood chips, pine straw, shredded leaves, etc.
This accomplishes several good things:
Think of mulch and cover crops as armor for your soil.
Just as you would never send a knight off to do battle in his underwear, neither could you reasonably ask the soil to do battle with your native elements to produce food for your family without these protective and restorative measures.
The best part is that most of these materials can be scrounged, fall from the sky for free, or can be purchased for a reasonable amount (cover crop seeds can often be purchased in bulk from local feed stores).
During a recent class with permaculture educator Morag Gamble, she taught that we need to start thinking about water sequestration in the soil as,
Planting water.
I had never thought of keeping water in the soil in that way and it was eye-opening. Yes, of course, we want to plant water just like we would a strawberry plant.
First, we prepare the soil with lots of organic matter so that there’s something in the soil besides clay that will hold onto the water. Clay is great for retaining water, but a little can go a long way!
Then, we need to be sure there’s enough drainage material in the soil – a little rock, even a little sand. We don’t want water to stand in the soil, we want it to stay just long enough.
After that, we plant the water in our prepared space by designing our landscape in such a way that the water comes to the spot we need it. We do this by:
If we have a slope of more than 45 degrees, we should think about creating terrace gardens to prevent excessive runoff and landslides.
One of the reasons that permaculture emphasizes the planting of perennials so often is that perennial root systems sequester water in the soil. They basically act like a sponge.
Annual plants (those most often grown in veggies gardens) don’t have extensive root systems because they are only in the soil for one growing season. Instead of putting energy into massive root construction, annual plants put most of their effort into producing their fruit which contains the seed that will perpetuate their growth into future seasons.
Perennials are in the garden for the long-haul and will not only hold water, but also nutrients in the soil for a long time.
While we don’t often think of planting perennial plants in the annual veggie garden, there is a place for them if design for them! Some perennial veggies include:
Even if you don’t want to put these perennial veggies, or even other perennials like bulbs, herbs and flowers, into the veggie garden, you can still place them around the annual garden.
Or interspersed here and there with the annual veggies as companion plants; in permaculture parlance, this is called guild planting. In fact, we can teach you how to construct beneficial vegetable guilds in the garden for higher yields.
The quickest way to see lasting results in how to amend soil is to add organic matter. It almost doesn’t matter what kind. Compost, manure, wood chips, sawdust, shredded leaves, pine straw, grass clippings, etc.
Also, be aware that animal manure and grass clippings can both contain a lot of nitrogen which can come on little strong when being placed into garden soil. Especially, if you’re going to have shallow rooted veggies like loose leaf lettuce.
This organic material not only feed the soil, making it more fertile, but it also helps hold water in the garden. Remember, we want to plant water as many places as we can around the homestead garden.
Organic material also attracts beneficial ground-nesting insects, as well as microbial life that thrive on and inside the bits and bobs of sticks and manure. Organic material is like an oasis hotel in the soil substrate for these little critters.
The microbes, in turn, attract the beneficial fungi (mushrooms) to the area. This fungi does all kind of amazing things to amend our soil.
In the fine mushroom book, Entangled Life, author Merlin Sheldrake explains one of those functions,
Fungi produce plant growth hormones that manipulate roots, causing them to proliferate into masses of feathery branches… .
More roots, equals healthier plants and healthier soil. All this life is teeming around in the soil beneath our feet and the epicenter is around the root mass of perennial plants.
Note: If you’re interested in mushrooms and fungal activity, you’ve got to read Entangled Life! It’s nerdy mushroom information at its finest! (I usually get my books used at Thriftbooks.com, FYI.)
There really isn’t any such thing as bad soil. There is only soil that has been depleted of the elements necessary to sustain most plant life.
You’ll observe that even in the driest desert or the most frozen tundra where soil is at its most extreme that there are still those plants that have adapted to living in it all the same.
When we’re trying to grow food in our gardens, we simply need to create the soil that has the most balanced nutrition for what we want it to grow.
If we slowly, steadily, and with great consistency apply the principles we’ve discussed today, we will improve our soil’s health. With healthy soil, the dirt does the great work or growing our vegetables for us.
Healthy soil = Healthy Veggies!
If you’re new to permaculture , here are some articles that will help you slowly learn more. You’ll layer on knowledge like you do organic materials on top of your soil.
You don’t need to worry that you’ll miss an important point because they’re all tied together. Whatever you do to amend your soil this year, you can improve with a new or improved procedure next year.
Soil is always growing and improving – just like you!
Obtain a Yield: Increase Homestead Garden Harvests
Efficient Energy Storage on the Homesteaders
Reduce, Reuse, Recycle Homestead Waste
The best time of year to figure out how to amend your soil is the minute you think of it. Just do it!
If you want to formulate a plan for the year, though, here are some suggestions:
Don’t plan to cover crop AND heavily mulch at the same time. Do one or the other, or one first and then the other.
Cover crops seeds can come up through a light layer of straw, but they’d be hard pressed to germinate and reach the sun through a new layer of wood chips.
If you have a favorite natural way to amend the soil, please share it in the comments for the benefit of other readers!
–>>Pin This Article for Later<<–