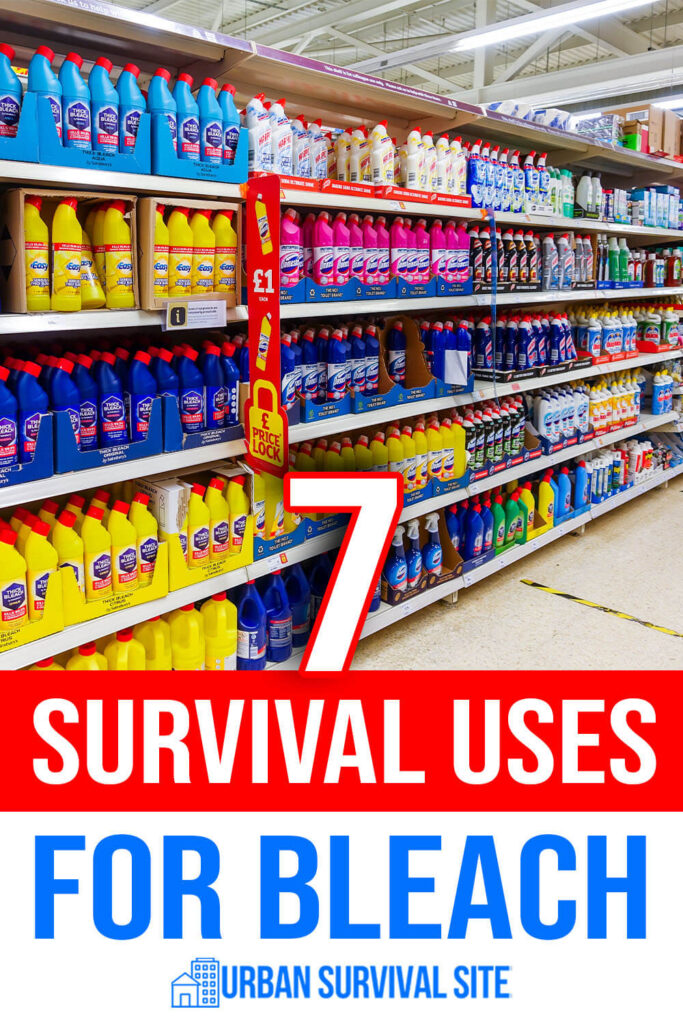
7 Survival Uses For Bleach

Estimated reading time: 9 minutes
I think there are two goals many preppers share when it comes to their gear or supplies. The first is to have items that have multiple purposes. This helps to cut down on weight when supplies are carried, it saves money, and multipurpose items provide you with more options when a problem arises. And the second one, quite simply, is to find the most affordable gear. I don’t think this one needs much of an explanation.
Article continues below.
Sometimes it can be difficult finding a product that fulfills both of the above requirements, so today we’re going to talk about one of them. And it’s highly likely you already have this item sitting on a shelf in your home. We’re talking about bleach.
Even with the price of everything skyrocketing, the price of bleach is still quite affordable. It’s a very effective disinfectant, and it can be used in a lot of different ways. Before we get into the different ways bleach can be used, please keep in mind that the following is for informational purposes only. Any information pertaining to applying bleach to the body or ingesting it, should be double checked with your personal physician before using it.
Want to save this post for later? Click Here to Pin It On Pinterest!
Before you run out to the store, there are a few things you need to keep in mind about bleach.
The first thing is that you want chlorine bleach, and not bleach with peroxide or anything else in it. This shouldn’t be difficult to find because chlorine bleach is the most common type of household bleach there is and most stores sell it.
Next, and I just briefly mentioned this before, but you don’t want bleach with any kind of scents or fragrances added to it. Those scents will be detrimental to survival uses later on.
Something that many don’t know is that bleach begins to lose its potency over time, this means after about six months the amount of bleach used per task will need to be increased. This should only be done with bleach that is used for cleaning or sanitizing and not for tasks where bleach is coming into contact with the body or consumed.
Last but not least, always double check the strength or concentration of bleach in your container. Household bleach usually has a concentration of around 6-8.25% sodium hypochlorite.
When you are setting up your cleaning supplies, it’s a great idea to have supplies and tools that are dedicated to just cleaning and only for specific cleaning solutions. This way you don’t have to worry about cross contamination issues or creating any unsafe or deadly mixtures. Below is a short list of supplies that are helpful when using cleaners like bleach.
Please keep in mind that for every method listed below, REGULAR, UNSCENTED bleach needs to be used.
This is probably one of the most well known and possibly best survival uses of bleach. Sodium hypochlorite isn’t just for swimming pools but it can be used to make unsafe water safer to drink. Here’s how to turn questionable water into potable water.
For more information on using bleach to disinfect water and to see a demonstration, check out this video.
It’s important to know how to properly sanitize surfaces because most people do it improperly. When you are in survival mode you don’t want to have to worry about contaminated surfaces getting you ill. To sanitize surfaces like floors, countertops, tool handles, doorknobs, railings, etc, follow the instructions lined out below.
First, you want to mix ? of a cup of bleach with one gallon of water. Use this solution on a rag to wipe down the targeted area. Now, here’s the important part. Leave the area wet for at least six minutes. Many people like to immediately wipe the area dry after applying a cleaning solution but this is wrong. Sanitizers don’t work instantly, they need time to work.
After six minutes you can take a clean wet rag, rinse the area well and allow the area to air dry. If you want to increase the concentration to more of a “hospital grade” solution, simply use ? of a cup of bleach to ¾ of a gallon of water.
To learn a bit more about using bleach as a hard surface disinfectant, check out this video.
Mold can cause all sorts of health issues and many of us are probably supposed to it more than we realize. To kill mold or mildew, much of the procedure from the previous section can be used.
Pre-wash the area and then make a solution with ? of a cup of bleach with a gallon of water. Use a rag and the bleach solution to wash the area down. Let the area stay wet for at least ten minutes before rinsing and allowing the area to air dry.
It should be noted that bleach works best at killing mold when mold is on hard, non-porous surfaces. When mold is present on porous surfaces, bleach doesn’t do a good job of getting down to the root of the problem.
Bleach isn’t just for cleaning walls and floors. One of its lesser known tasks is that it can be used to sanitize items that come into contact with food. Items like dishes, utensils, plastic cutting boards, baby bottles, knives, etc.
The solution made for this task is much less concentrated than the previous solutions. For this solution, you’re only going to mix 2 teaspoons of bleach with one gallon of water.
Once the dish or cutting board has been washed and rinsed, allow it to soak in the bleach solution for two minutes. After two minutes, take the item out and allow it to air dry.
To see how to quickly mix up a food contact sanitizing solution, check out this video.
When water is at a premium or your normal methods for cleaning food aren’t available, believe it or not, you can use bleach to clean raw fruits and vegetables. To do this, follow the instructions below.
Cutting boards, especially wood cutting boards, can hold onto microorganisms even though they look perfectly clean. This is why it’s so important to sanitize them after each use. To properly sanitize your wood cutting board, follow the steps below.
Knives that are used in food prep not only get dirty but can be a breeding ground for harmful bacteria. Whether you are using ordinary kitchen knives, butcher knives, or hunting knives, these tools should be cleaned and sanitized after each use.
Bleach is a very versatile item to have around. It’s affordable, widely available, and it’s an extremely effective disinfectant. This is why during normal times, every household should have some of it on their cleaning shelf.
But having some bleach is especially important during disastrous times because sanitation and cleanliness becomes much more critical. Get some today and start learning how to use it and set yourself up to be able to use it before you suddenly need it.
Like this post? Don’t Forget to Pin It On Pinterest!