Ham Radio Calling Procedure, and Making Your First Call


I remember the joy and enthusiasm I felt when I was first getting into ham radio. I can barely describe my excitement when I was pouring over components, assembling my set, getting everything set up and dialed in, and then powering up for the first time.
All that study, all that effort, getting licensed, and finally I was sitting at the mic in front of my own ham shack.
And then it hit me, like a cold wave of fright. What do I do? What do I say? Why am I even doing this in the first place? It was horrible! Talk about going from the pinnacle to the pit. I’ve never had stage fright before, but back then I was sure that is what it must feel like.
Now, I and all the other seasoned ham ops out there can justly laugh at the “beginner me,” but back then it was no joke at all.
Making your first call can be confusing, nerve-racking, and downright intimidating. But it doesn’t have to be! Everyone started somewhere, and if you’re getting started you need this step-by-step guide. Let’s get right into it down below.
Before we go any further, I’ve got to take a moment to talk about mic fright. It is exactly what it sounds like, and exactly what I alluded to in the intro. It’s a type of stage fright sprinkled with a little bit of imposter syndrome.
You’ll be sitting at your handset, having done the work, put in the study, and gotten the license, and then feel a crushing weight thinking that:
I’m not going to go into it at length about this, but I want you to hear me out and listen: you’ll do fine. Everybody started somewhere…
Just remember your manners, do the best you can, and let the people you’re talking with know that you are new. Most ham operators will be overjoyed that someone else has “picked up the torch,” and they’ll be happy to mentor you.
But do some “rehearsals” to make sure you don’t wind up a blubbering idjit who’s stumbling and stuttering over everything, and talking over everyone…
With your set off, go through the motions of collecting your thoughts, keying the mic, saying what you need to, imaging a response, and then responding in kind.
Yes, it’s very literally practicing how to talk but it makes a big difference, I promise! Now is also a good time to have a more seasoned buddy or mentor go through it with you off the air.
Trust me, your confidence will grow! Just remember what I said. Now, let’s make that call!
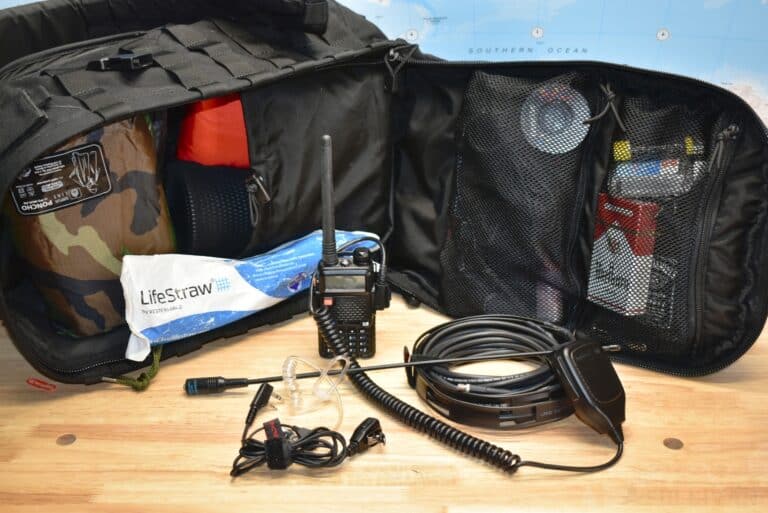
First things first, if you haven’t already. You need to assemble your radio and connect all of the components.
Your antenna needs to be ideally situated, as high as you can get it legally and practically, and hopefully on top of or above major obstructions. Make sure all of your cables are in good shape and that you double-check every connection.
If you buy a kit or are following a guide for the process, double-check every step in order before you proceed. It’s possible to make costly mistakes that will damage your equipment or result in a subpar experience.
The next step is to tune your antenna, if required, and also calibrate your set. Calibration isn’t always needed, but if it is, you’ll need to refer to the manufacturer’s manual and follow their instructions for doing so.
Tuning your antenna properly means you’ll need an SWR meter. This device connects between the antenna and the radio itself, and it might be critically important for both, ensuring that you’re transmitting a strong, clear signal but also that you can receive properly. It can also help prevent damage to the radio!
Note: Not all antennas requires calibration. Some are pre-tuned from the factory, especially if built in or preattached to your set. But if you put your own set together and haven’t already done so, tune before you go on the air for the first time. The last thing you want to be worrying about is equipment issues.
Again, double-check all connections between every component. This is a common cause of signal degradation that’s very easy to overlook.
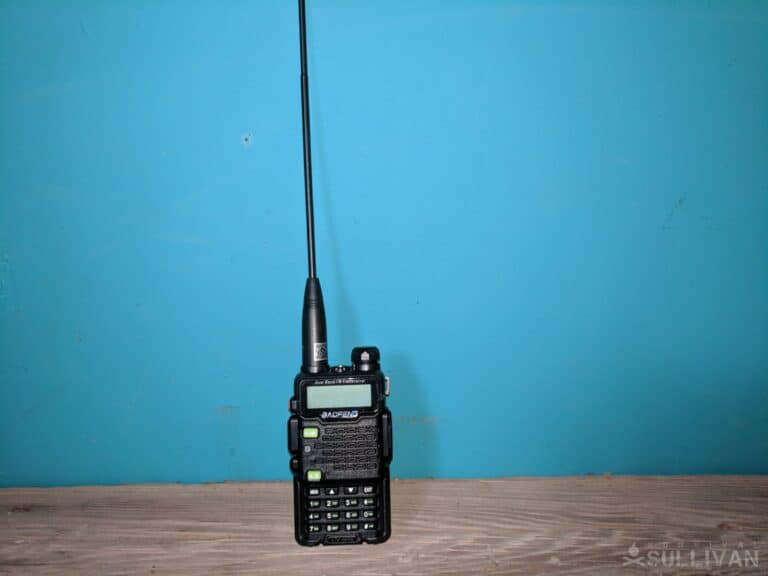
Assuming your radio is properly assembled, calibrated, and tuned, when you are ready to transmit you first need to turn the radio set on.
Check all of your indicators and instrumentation for proper functionality. If anything seems amiss, correct it now. Make sure that your mic is connected and functional, but not keyed, and also double-check your speaker or headset.
The next step is to dial to a frequency that you’d like to talk on. This is dependent on your purposes and your license. Remember that, depending on your license, you only have access to certain frequencies.
For instance, if you want to tune in to 2200 M for any purpose you better have a General or Extra class license. Technician licenses are not permitted. On the other hand, 80/75 M is accessible by Technician grades, but General and Extra classes have access to additional frequencies in that same range.
You should, by now, know this stuff, but you don’t have to know it all by heart. Make sure you get a chart of what frequencies you’re allowed to access, and which are the most important ones in your area, like repeaters, and keep that near your set.
So you’ve tuned in. What next? Listen! Chances are that channel is in use, and even if it’s not full of people talking, someone might be monitoring it, and they’ll have to check in periodically. More on that in a minute.
You don’t want to dial in and then just start talking over people. That is very bad manners and a good way for people to take you for exactly what you are acting like: a careless greenhorn.
As a rule, I like to tune into a frequency and listen for at least 5 minutes to make sure there’s not an ongoing conversation.
You might wait as long as 10 minutes if you are shy to see if someone checks in with their call sign; that will at least give you a starting point for a conversation if you don’t want to be the first to talk.
Assuming someone’s been chatting, or if you hear someone check in with their call sign, make quick notes on a pad so you can refer back to them and don’t have to remember them.
Call signs start to blur together in your mind after a while, especially on a chat with many participants that are just rag-chewing. This will also allow you to refer to them properly using codes and shorthand.
Once you know who is who on the channel, and decide that you want to jump in, wait for an opportunistic break in the conversation so you can announce yourself.
Now it’s time for the big moment. Introduce yourself, and do so properly! When you have time and opportunity to jump in, key your microphone and say “This is” before releasing the mic switch for about 2 seconds.
Then key the mic and announce your call sign, preferably using the proper phonetic alphabet as you were taught. This will allow anyone making logs on the channel to record your call sign as you did previously.
After giving your call sign, you may opt to include your name if you want to, or it’s required for the purposes of the call, and your location, usually by county and state.
Immediately after announcing yourself with your call sign and other relevant info, let listeners know why you are on the air or tuned in. If you’re just listening in, as soon as you speak, your call sign announces that you are listening. If you are there to chat, say so.
Just remember to be brief and respectful of others that are on the channel. Wait for acknowledgment from other participants, and then conduct the conversation from there.
It doesn’t necessarily have to be about anything important, but remember if there’s already a conversation ongoing you want to participate in that conversation, not dominate it and change the subject. At least, not at first!
An example call looks like this:
*Key mic “This is”- *wait 2 sec.- “Kilo-Alpha-4-November-Bravo-Charlie, name’s Sam, Hardin County, Kentucky. Listening.” *stop transmitting
Remember the regulations: you must announce yourself on a channel at least every 10 minutes. Do this by keying and, announcing your call sign as before, and then simply stating “for ID.”
Get this part over with as quickly as possible so you don’t clog the channel, but remember to do it.
When you are just starting out, unless you have studied relentlessly you aren’t going to know every code, acronym, and bit of lingo that seasoned operators use.
And even if you’ve memorized it academically you won’t be fluent in using it like a second language when you’re actually on the air. Not at first! That’s okay, but you want to make a point to use it when and as appropriate because this is a demonstration of fluency and respect for the craft.
All the Q codes, naturally, are quite important because you are QSO’ing at this very moment. You might use QRV, QRI, QRA, and others as needed, but don’t forget the other common shorthand codes, the alphanumerics.
Signing off with “73” is always good practice and especially appreciated by the older ham ops, but don’t forget to drop a GM, GA, and GD in the chat; good morning, good afternoon, and good day respectively.
Last but certainly not least, remember your manners when you are leaving the frequency or just dropping out of the conversation entirely.
Say your goodbyes, and exit the conversation by stating your call sign and then “clear” or “SK”, for “signed off”. Don’t forget to exchange those QSL cards before you go, if you want to make new friends or talk to someone later!
One thing that made a world of difference for me, and I want to make a world of difference for you, is joining a local ham club, even if a local club is one in a neighboring town or a few counties over.
Getting involved in regular meetups, events, and other stuff is only going to build your proficiency and do so way quicker than it would otherwise.
It’s also nice making real-life friends that you can practice calling with. Knowing that you’re simply reaching out to an actual buddy instead of flinging your voice out there into the airwaves for strangers to respond to might be just the thing to help get you over that dreadful mic fright in the beginning.
But if you want to go solo, that’s just fine too. Follow the steps I gave you and the guide above and you’ll be an old pro in no time.

Tom Marlowe practically grew up with a gun in his hand, and has held all kinds of jobs in the gun industry: range safety, sales, instruction and consulting, Tom has the experience to help civilian shooters figure out what will work best for them.