DIY Hunting Blind: Craft an Affordable Hideout

SHTFPreparedness may collect a share of sales or other compensation from the links on this page.
With some hunting blinds selling for hundreds of dollars, you might want to get creative and build your own blind.
However, building a hunting hide requires a lot of equipment, so this is best suited for experienced individuals.
First, we’ll list everything you need to start building the perfect DIY hunting blind, and we’ll detail the various steps to build your own hunting blind with a few handy tips along the way.
Here is a list of the tools and materials needed to build your own hunting hide:
The first thing you’ll want to do is create the floor for your DIY hunting blind. For this part, we’ll detail how you can build a simple 6×5 hide, so if you want to make it more prominent, adjust the materials accordingly.
Make a square with four 2×6 planks (you want to treat the wood before to make it last longer) and add two similar planks in the middle to consolidate the structure.
Screw them using your cordless screwdriver with three screws on each end. You can then nail your wooden floor on top of the base.
When you build a hunting hide, you want to elevate it to get the best visibility; we recommend aiming for a ten-foot elevation to have a nice angle in the tree line.
To do this, you’ll need elevator brackets. Some of these come without hardware, so you might need to purchase extra screws or bolts.
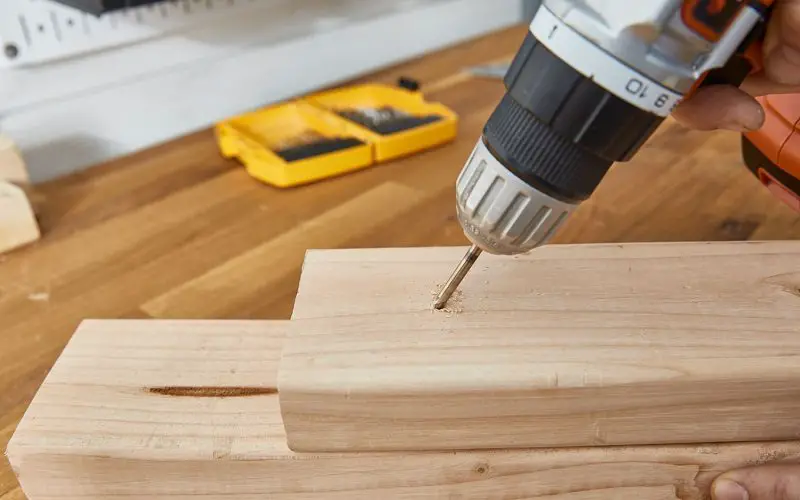
Before bolting the brackets, pre-drill the holes on the four corners of your base, as the thicker corners could damage your screwdriver. You’ll also need 4×4 posts to slide and screw inside the brackets.
Moreover, to keep the structure steady, you’re going to need 12 feet of 2×4 planks; making an “X” on each side and a small woodblock at the center will help these planks support your overall structure.
Later, you’ll need to anchor this structure to the ground; we suggest burying the four poles and attaching a fence pole to the bottom of your hide’s four legs.
For the cabin, you’ll need to structure it like you would build walls for a house. This entails constructing a large frame and placing interior planks at the corners where your window frames will be located.
We also recommend designing the side frames with an angle to allow water to flow down. For this roof, you’ll need a bundle of shingles and four extra shingles for a 6×5 cabin.
For the door of your cabin, consolidate it with 2×4 to make a “>” shape with a horizontal plank in the middle. Remember to add angles to the side of the hinges to enhance the design. Of course, you’ll also need hinges, a doorknob, and a key lock.
Inside your cabin, you’re going to want to add a few commodities to make your long hunting sessions more comfortable. In front of your main window, you can build a counter to rest your weapon.
In the space above the windows, you can quickly build shelves that can be useful to store food, first-aid kits, and ammunition safely. Finally, a drink holder next to the window is an excellent idea, so you don’t need to look away too long.
Creating windows for your DIY hunting hide is simpler than you may imagine. All you need to do is cut 2×4 planks to make a rectangle that will fit in the gaps you created for the cabin.
Assemble them, except for the top one, and cut a trench approximately half an inch deep to slide in some plexiglass. Next, seal it with the top plank. For a clean frame, we recommend using a pocket hole jig to screw directly inside the wood; it will look better and make the window more resistant.
When fixing it in your main cabin’s frames, you need hinges to attach it, a barrel latch to close and open it, and some magnets to hold it open while in use.
We also recommend angling the bottom of the window frame to let the water flow down in case of rain. For insulation and durability, you can use silicone around the window and door frames.
Once you have your basic structure, you’ll need to transport it to your hunting spot; for this, you’ll probably need a car hauler and some adjustable straps, and it wouldn’t hurt if you owned a pickup truck.
Once at your hunting spot, you can assemble the cabin and connect it to the elevated part. We recommend doing it on the ground and pulling it up with a rope and friends.
Place the hide directly next to a tree, allowing you to anchor it with a strap and several eye hooks. Then it’s time to consolidate the base with the fence poles and some clay.
Once your DIY deer hide is up, you can start painting it. For our 6×5 model, we calculated that you’d need two gallons of paint to get both the inside and the outside done.
It’s essential to paint the inside because the deer will see you when the window is open. Of course, opt for colors adapted to the environment, and you can even have some fun making your own camo designs.
The final step involves constructing a pathway to reach the elevated hideout. You can use a ladder or go full DIY and build yourself some stairs.
Opting for stairs or a ladder will depend on the terrain, but the flatter the surface, the better.
If you follow all these steps, you can build a great hunting blind that you can customize to your preference.
These are just the basics, and you go even further by adding cameras, screens, and other commodities inside to make your deer hunting even better.
Some people even design gun holders with a rotating mechanism aligned with the window frame to make aiming easier, so all you need is a little bit of creativity to create a unique deer hunting blind at a fraction of the cost.
